


But just in case, prepare enough eyepins and beads to make sure you have enough if something goes wrong.
Like … here, where I managed to chip the bead while bending the wire. Oops 🙂
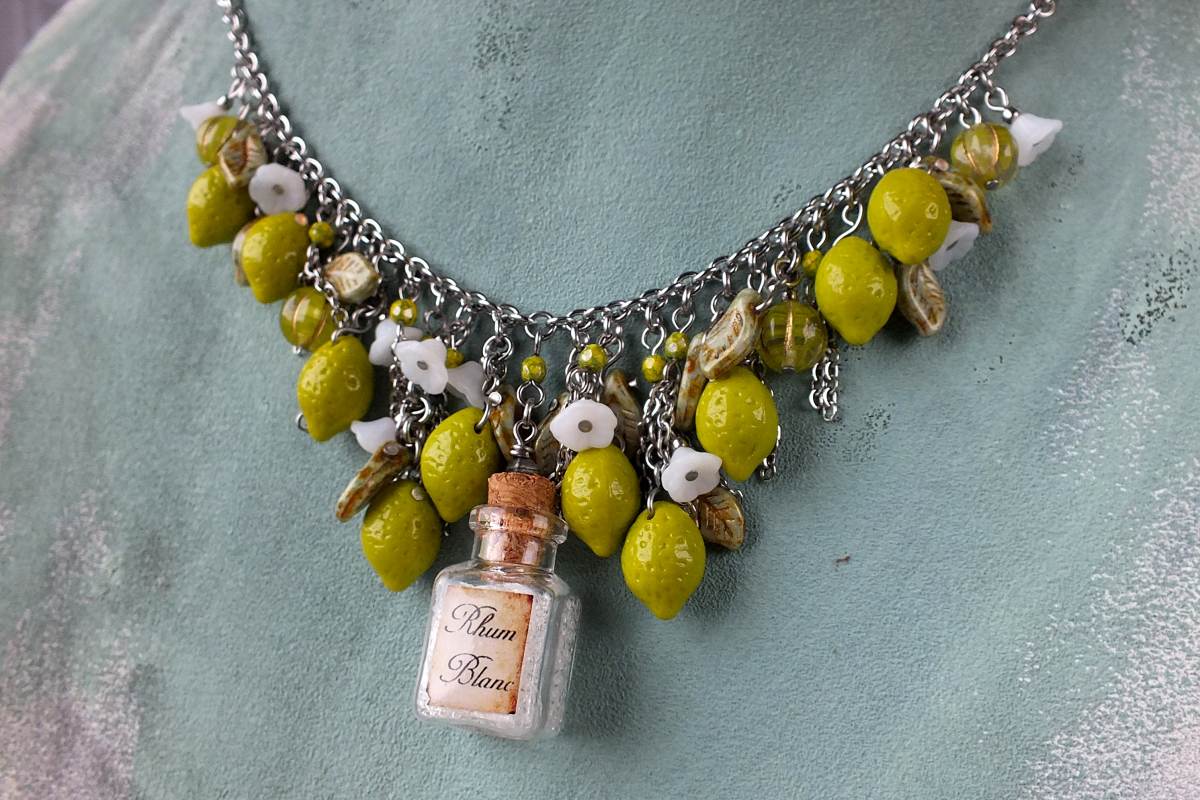
The bottle


You can get these tiny decorative bottles with cork stoppers in most craft stores or well-stocked bead stores.
First take the cork out and use a thick needle or pin to make a hole all the way through. Then string the cork on a headpin, add one small bead and make a loop (I usually make wrapped loops on these, but a simple loop will work too).
Then pour tiny seed beads (these are Preciosa Ornela 16/0s) into the bottle. Then apply a bit of jewelry glue onto the cork and put it into the neck of the bottle and let the glue set.
Meanwhile you can start working on a vignette. To add a personal touch to your project, you can make the vignette by hand, but if you want to get more creative and get a more “professional” result, you can design your vignette in your favorite graphic editor and then print it.
(If you want to “go digital” and like the “old paper texture” I used for my bottles, you can download it here.)

Leave a comment